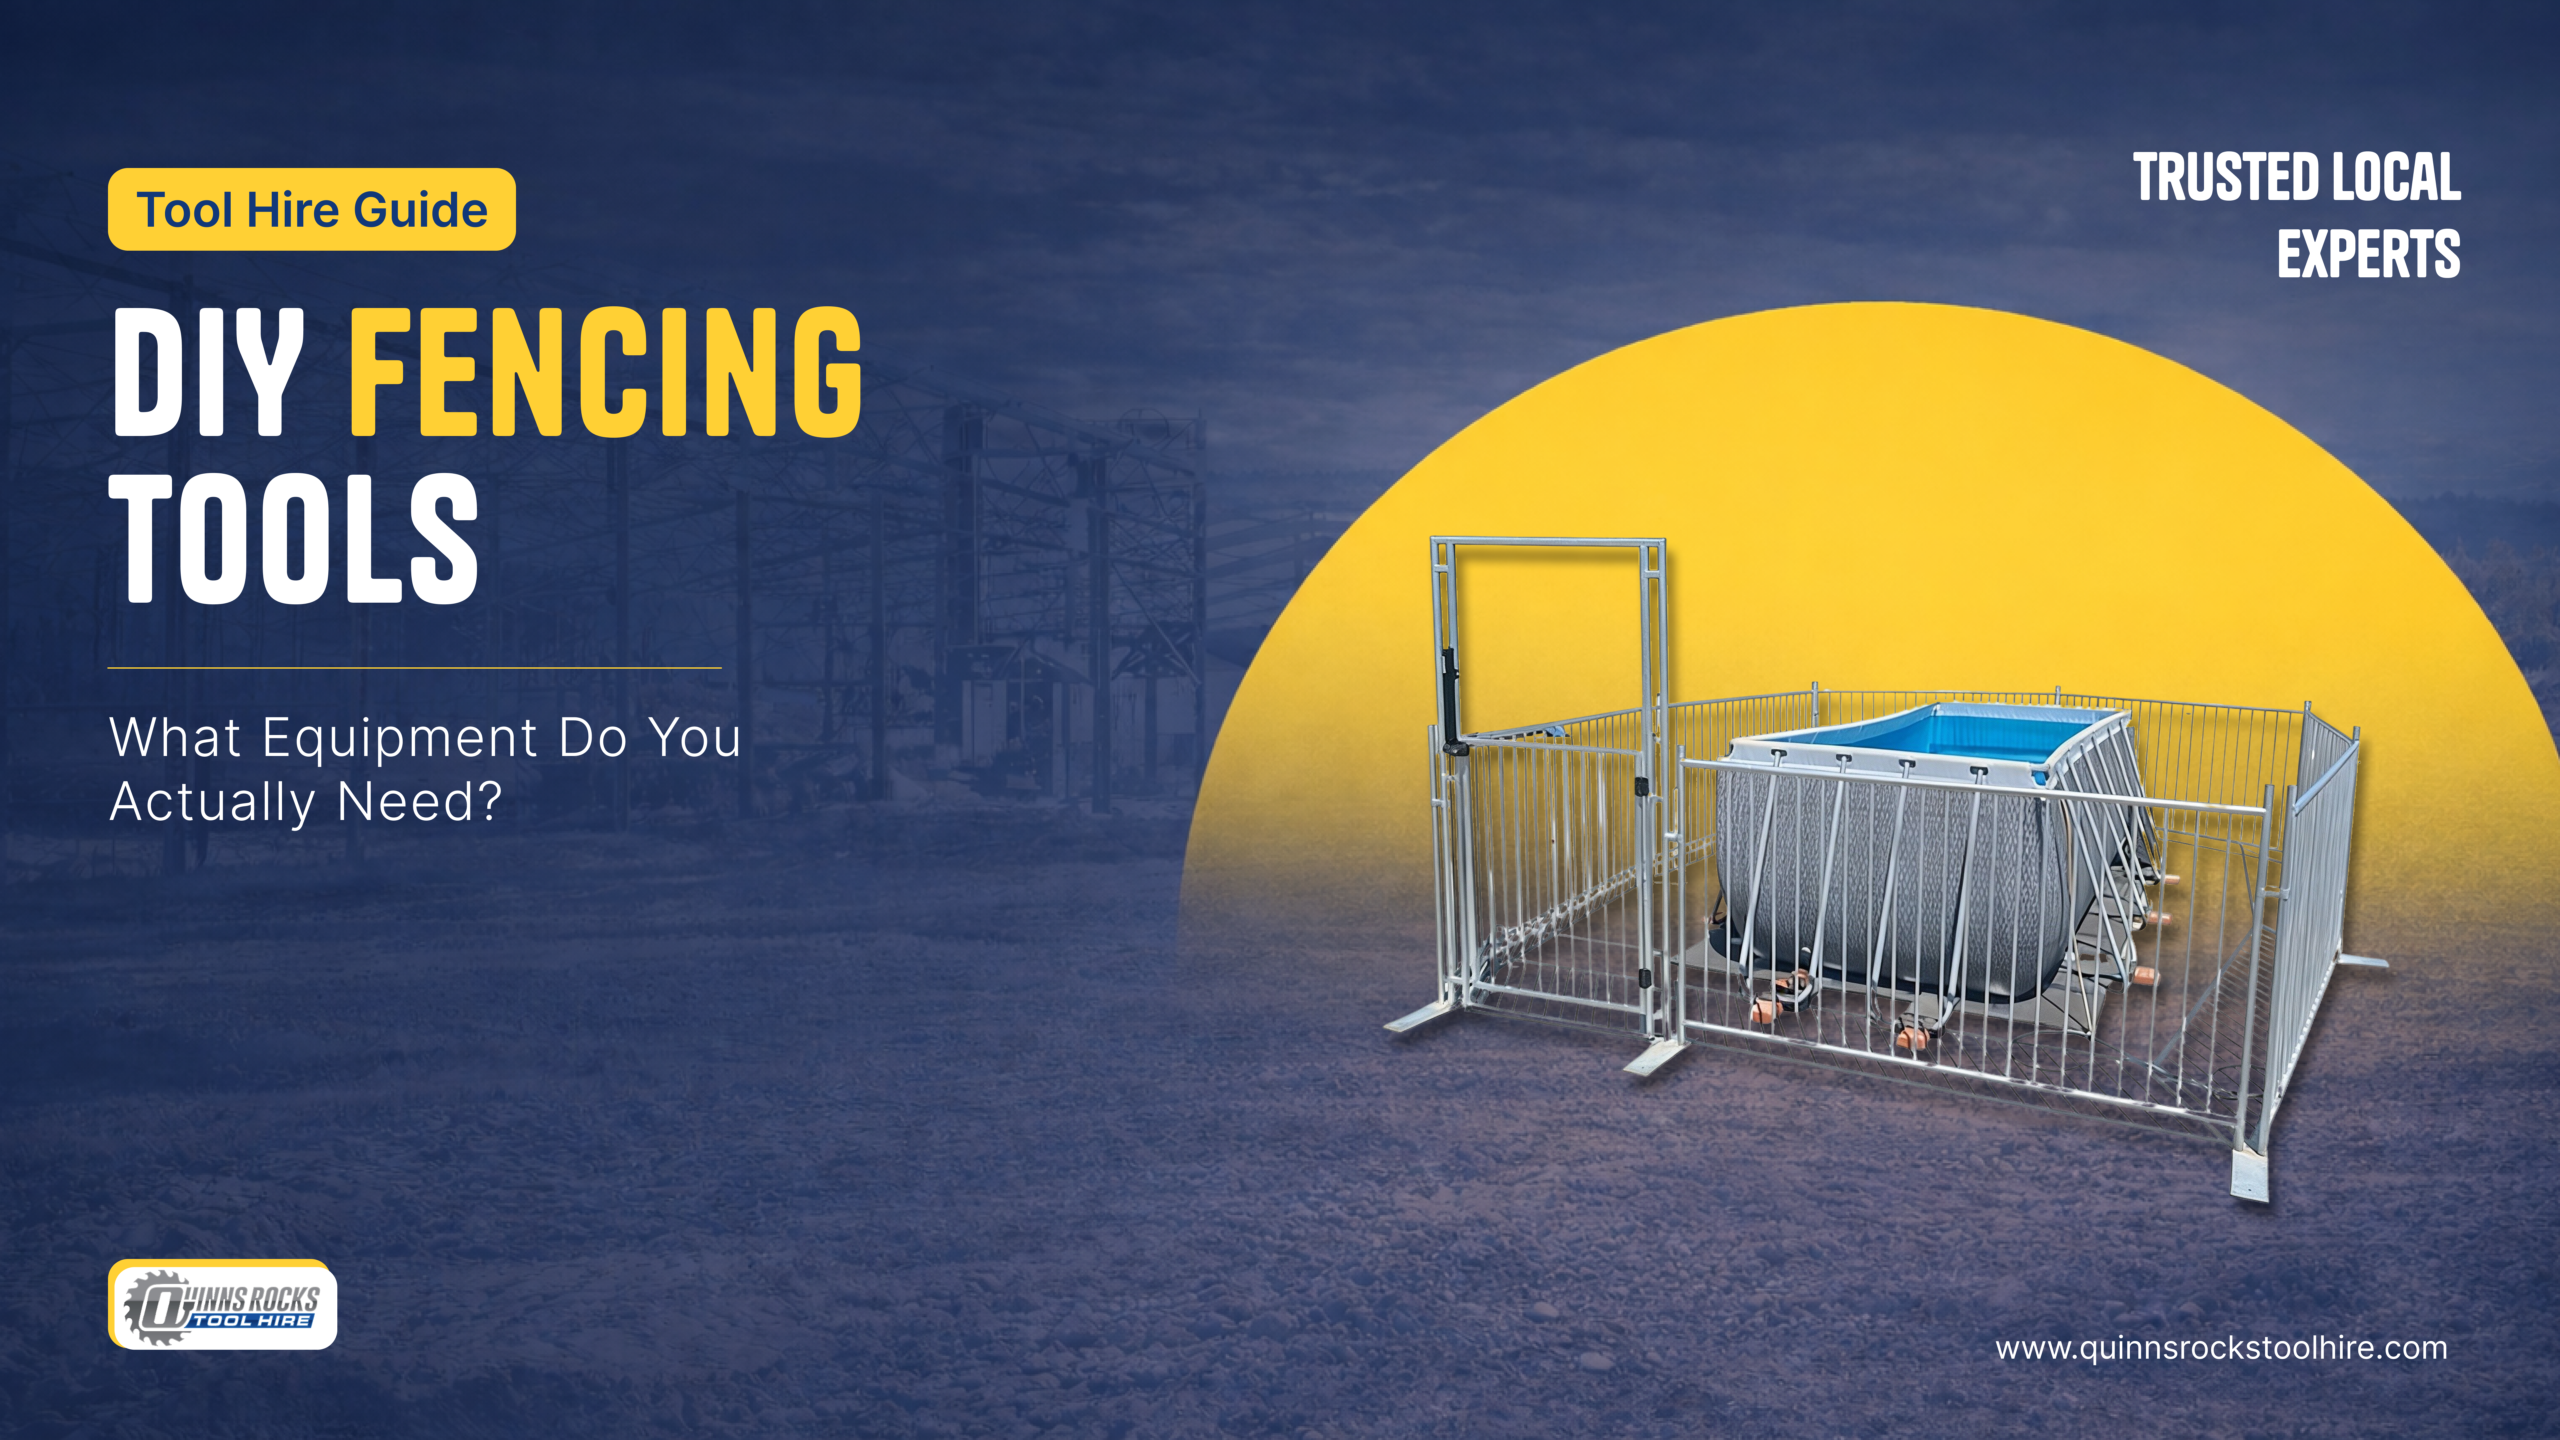
Building your own fence can feel like a big project—but it’s also one of the most satisfying DIY upgrades you can do for your home. A well-built fence adds privacy, security, property value, and visual appeal. The best part? With the right tools and a clear plan, many homeowners can install a fence themselves without hiring a contractor.
If you’re planning a DIY fencing project in Western Australia, knowing exactly what equipment you actually need can save you time, money, and frustration. Many people assume fencing requires dozens of specialised tools, but the reality is much simpler.
This guide breaks down the essential tools, equipment, and supplies required for DIY fencing. We’ll also explain when it makes sense to hire tools instead of buying them, which is where companies like Quinns Rocks Tool Hire come in handy for homeowners and tradies alike.
Let’s walk through everything you need to get your DIY fence project done right.
Why More Homeowners Are Choosing DIY Fencing
DIY fencing has become increasingly popular among homeowners. With rising labour costs and the availability of better tools, many people are choosing to install their own fences rather than hiring professional contractors.
One major reason is cost savings. Installing a fence professionally can cost thousands of dollars depending on the length and materials used. By doing it yourself, you mainly pay for materials and equipment, dramatically lowering the overall expense.
Another reason is control over the project. When you build your own fence, you decide everything—design, materials, timeline, and finishing touches. Whether you’re building a classic timber fence, a modern slat design, or a simple boundary fence, DIY allows flexibility.
Technology and tool availability have also made DIY fencing easier than ever. Tools like post hole diggers, power drills, and levels allow homeowners to achieve professional-looking results. Essential tools such as shovels, levels, drills, and tape measures are commonly used in fencing installations to ensure accurate placement and structural stability.
For homeowners who don’t want to buy expensive equipment outright, local rental services such as Quinns Rocks Tool Hire provide an easy way to access professional-grade tools without long-term investment.
In short, DIY fencing is no longer just for experienced builders—it’s accessible to almost anyone willing to plan carefully and work methodically.
Also Check: Tool Hire in Alkimos – Affordable Equipment for DIY & Trade Projects
Planning Your Fence Project Before Buying Equipment
Before you pick up a shovel or power drill, careful planning is essential. A well-planned fence project prevents costly mistakes and ensures the final structure is straight, durable, and compliant with local regulations.
Fence planning involves three key steps: boundary marking, material selection, and equipment preparation.
Marking Property Boundaries
One of the biggest mistakes homeowners make is installing a fence in the wrong location. Always confirm property boundaries before starting the project.
You can do this by:
- Reviewing your property survey
- Consulting local council guidelines
- Discussing plans with neighbors
- Marking the fence line with string and stakes
This step ensures your fence remains within legal boundaries and avoids potential disputes.
Choosing Fence Materials
The materials you choose determine the tools you’ll need. For example:
| Fence Type | Common Materials | Difficulty |
| Timber Fence | Wood posts, rails, palings | Moderate |
| Colorbond Fence | Steel panels and posts | Moderate |
| Picket Fence | Timber pickets and rails | Easy |
| Wire Fence | Metal wire and posts | Easy |
Timber fencing is the most common DIY option because it is affordable, customizable, and easy to work with.
Once you know the type of fence you’re building, selecting the right tools becomes much easier.
Essential Tools for DIY Fence Installation
Post Hole Diggers and Augers
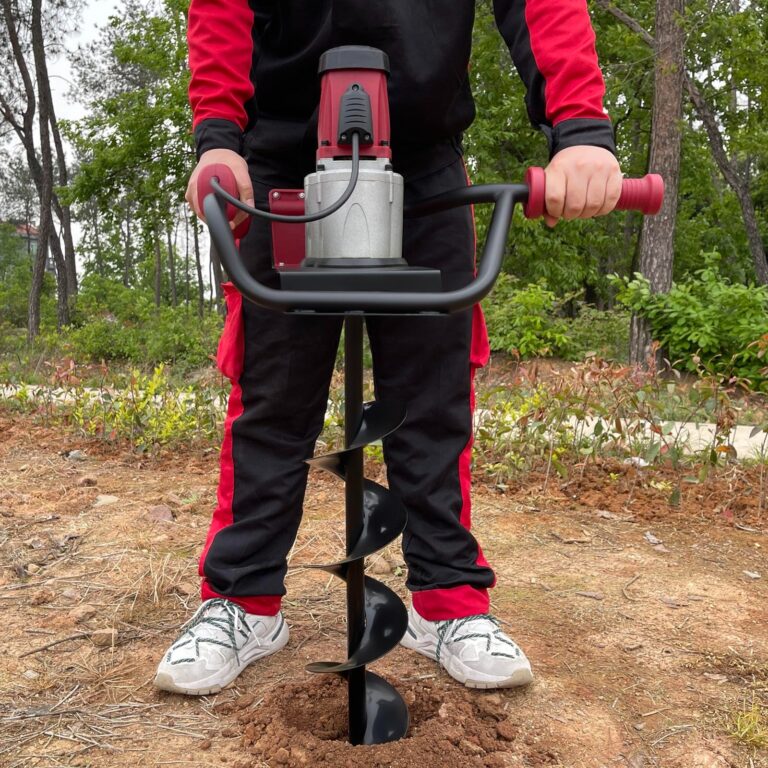
The post hole digger is arguably the most important tool in fence construction. It allows you to create deep, narrow holes where fence posts will sit securely.
A manual post hole digger works well for small backyard projects. However, if you’re installing many posts, an auger attachment or mechanical digger can save significant time and effort. These tools drill holes quickly and consistently, making fence alignment easier.
Professionals often prefer powered augers because they reduce physical strain and speed up the job dramatically. If you don’t own one, renting the equipment for a day is often the most practical option.
Also Check: Avoid These Common DIY Mistakes by Using the Right Tools | Quinns Rocks Tool Hire
Measuring and Alignment Tools
Accurate measurements are critical when building a fence. Even a slight misalignment can cause the entire fence line to look crooked.
Essential measuring tools include:
- Tape measure
- Spirit level
- String line
- Marking paint
A spirit level ensures every post stands perfectly upright. Without it, your fence may lean or sag over time. According to fencing guides, levels and measuring tools are among the most important equipment for maintaining alignment and stability.
Using these tools correctly ensures a professional-looking finish.
Cutting and Assembly Tools
Once your posts are installed, you’ll need tools to cut and attach fence panels.
Common tools include:
- Power drill or impact driver
- Hammer
- Circular saw or handsaw
- Screwdrivers
- Wrench or socket set
These tools allow you to cut rails to size, attach panels securely, and tighten bolts or brackets. For timber fences especially, a power drill with corrosion-resistant screws ensures strong connections that last for years.
Also Check: DIY Fence Installation: Tools You Can Hire Locally – 2026 Guide
Equipment That Makes Fence Building Easier
Concrete Mixers
Setting fence posts in concrete is one of the best ways to ensure long-term stability. While small projects can mix concrete manually, larger fences benefit greatly from a concrete mixer.
Mixers provide consistent cement mixtures and speed up installation significantly.
Instead of spending hours mixing concrete by hand, a mixer allows you to prepare batches quickly and focus on setting posts accurately.
Wheelbarrows and Transport Tools
Transporting soil, gravel, and fencing materials can be surprisingly time-consuming. A simple wheelbarrow makes a huge difference when moving heavy materials around your yard.
Wheelbarrows help transport:
- Soil removed from post holes
- Bags of cement
- Fence panels and rails
- Gravel or aggregate
They are considered essential tools for moving materials efficiently during fence installation.
Safety Equipment You Should Never Skip
DIY fencing involves digging, cutting, lifting, and drilling—activities that carry some risk.
Always wear proper safety equipment such as:
- Work gloves
- Safety glasses
- Steel-toe boots
- Hearing protection
- Dust masks
Safety gear protects against flying debris, loud power tools, and heavy materials. Even experienced contractors rely on protective equipment to prevent injuries.
Taking a few minutes to wear proper gear can save you from serious accidents.
DIY Fence Tools Checklist
Below is a quick reference table showing the most common tools required for DIY fence installation.
| Tool | Purpose | Required |
| Post Hole Digger | Dig holes for fence posts | Essential |
| Shovel | Remove soil and fill holes | Essential |
| Spirit Level | Ensure posts are vertical | Essential |
| Tape Measure | Measure post spacing | Essential |
| Power Drill | Attach fence panels | Essential |
| Circular Saw | Cut timber rails and panels | Optional |
| Concrete Mixer | Mix concrete for posts | Optional |
| Wheelbarrow | Transport soil and materials | Recommended |
This checklist helps ensure you have everything needed before starting your project.
Also Check: Step-by-Step Guide: How to Use a Post Hole Auger Safely for Your Next Project
Buying vs Hiring Fencing Equipment
One common question homeowners ask is whether they should buy or hire tools.
Buying tools makes sense if:
- You frequently do DIY projects
- You need the equipment long-term
- The tools are inexpensive
Hiring tools is better when:
- Equipment is expensive
- You only need it once
- Storage space is limited
This is why many homeowners in Western Australia choose equipment rental services like Quinns Rocks Tool Hire, which allows you to access professional-grade tools for a fraction of the purchase price.
When to Rent Professional Tools
Certain fencing tools are worth renting instead of buying.
Examples include:
- Post hole augers
- Mini excavators
- Concrete mixers
- Compactors
- Tipper trailers
These machines can dramatically reduce labour and time, especially for larger fencing projects.
Rental companies allow homeowners to complete projects faster without the high upfront cost of purchasing machinery.
Step-by-Step Overview of Building a Fence
A basic DIY fence installation typically follows these steps:
- Mark your fence line with stakes and string.
- Measure and mark post positions.
- Dig post holes using a post hole digger or auger.
- Set posts in concrete and ensure they are level.
- Attach horizontal rails.
- Install fence panels or pickets.
- Apply stain, paint, or protective sealant.
Each step requires specific tools and careful measurement to ensure the fence remains straight and secure.
Common Mistakes DIY Fence Builders Make
Even experienced DIYers sometimes make avoidable mistakes.
Common fencing mistakes include:
- Incorrect post spacing
- Posts not set deep enough
- Skipping the level check
- Using low-quality fasteners
- Poor drainage around posts
Avoiding these mistakes ensures your fence lasts for many years without structural problems.
Why Local Tool Hire Services Make DIY Projects Easier
Access to professional equipment can make the difference between a stressful project and a smooth one.
Equipment rental services like Quinns Rocks Tool Hire provide tools such as augers, compactors, and mixers that make DIY fencing significantly easier.
Instead of spending thousands on equipment you might only use once, you can simply rent the tools you need for a day or weekend.
This approach allows homeowners to complete projects faster, cheaper, and with professional results.
Conclusion
DIY fencing is a rewarding project that can dramatically improve the look, privacy, and security of your property. While the process might seem intimidating at first, it becomes much simpler when you understand exactly what tools and equipment are required.
From post hole diggers and power drills to levels and wheelbarrows, the right tools ensure your fence is straight, stable, and durable. Safety equipment and proper planning are just as important, helping prevent mistakes and accidents along the way.
For homeowners who don’t want to purchase expensive equipment, tool rental services like Quinns Rocks Tool Hire provide an excellent alternative. Renting professional tools allows you to complete your fencing project efficiently without unnecessary costs.
With the right preparation and equipment, building your own fence is completely achievable—and incredibly satisfying.
FAQs
1. What is the most important tool for DIY fencing?
The most important tool is a post hole digger or auger, which is used to dig deep holes for fence posts. Proper post installation is essential for a strong and stable fence.
2. Can I build a fence without power tools?
Yes, it is possible using manual tools such as a hammer, shovel, and hand saw. However, power tools significantly speed up the process and improve accuracy.
3. How deep should fence posts be?
Most fence posts should be installed at least 600–900 mm deep, depending on soil conditions and fence height.
4. Should fence posts be set in concrete?
Concrete is recommended for most fences because it improves stability and prevents movement caused by soil shifting.
5. Is it better to rent or buy fencing equipment?
For one-time projects, renting equipment is usually more cost-effective. Services like Quinns Rocks Tool Hire allow homeowners to access professional tools without purchasing them.